
How to create small tile mosaics from digitally printed tiles
Over the last twelve months we have been working closely with Dennis Lowe on a series of exciting small mosaic projects. Dennis has been producing ceramic works of art for over 20 years, creating his mosaic masterpieces using a combination of newly printed tiles and recycled vintage ceramics. Whilst Dennis still uses recycled ceramics, his innovative technique for creating small piece ceramic mosaics from newly printed ceramic tiles is easily replicated and could use any appropriate image. In this post, we'll take a look at one of his most recent projects and learn about the process he uses to produce his artwork.
To create his random shapes, Dennis first breaks his tile by using his tile cutters as a hammer and then uses the cutters to break the random shapes into smaller pieces. "I'm always careful to keep the original configuration to avoid the nightmare of trying to sort out the resulting jigsaw puzzle."
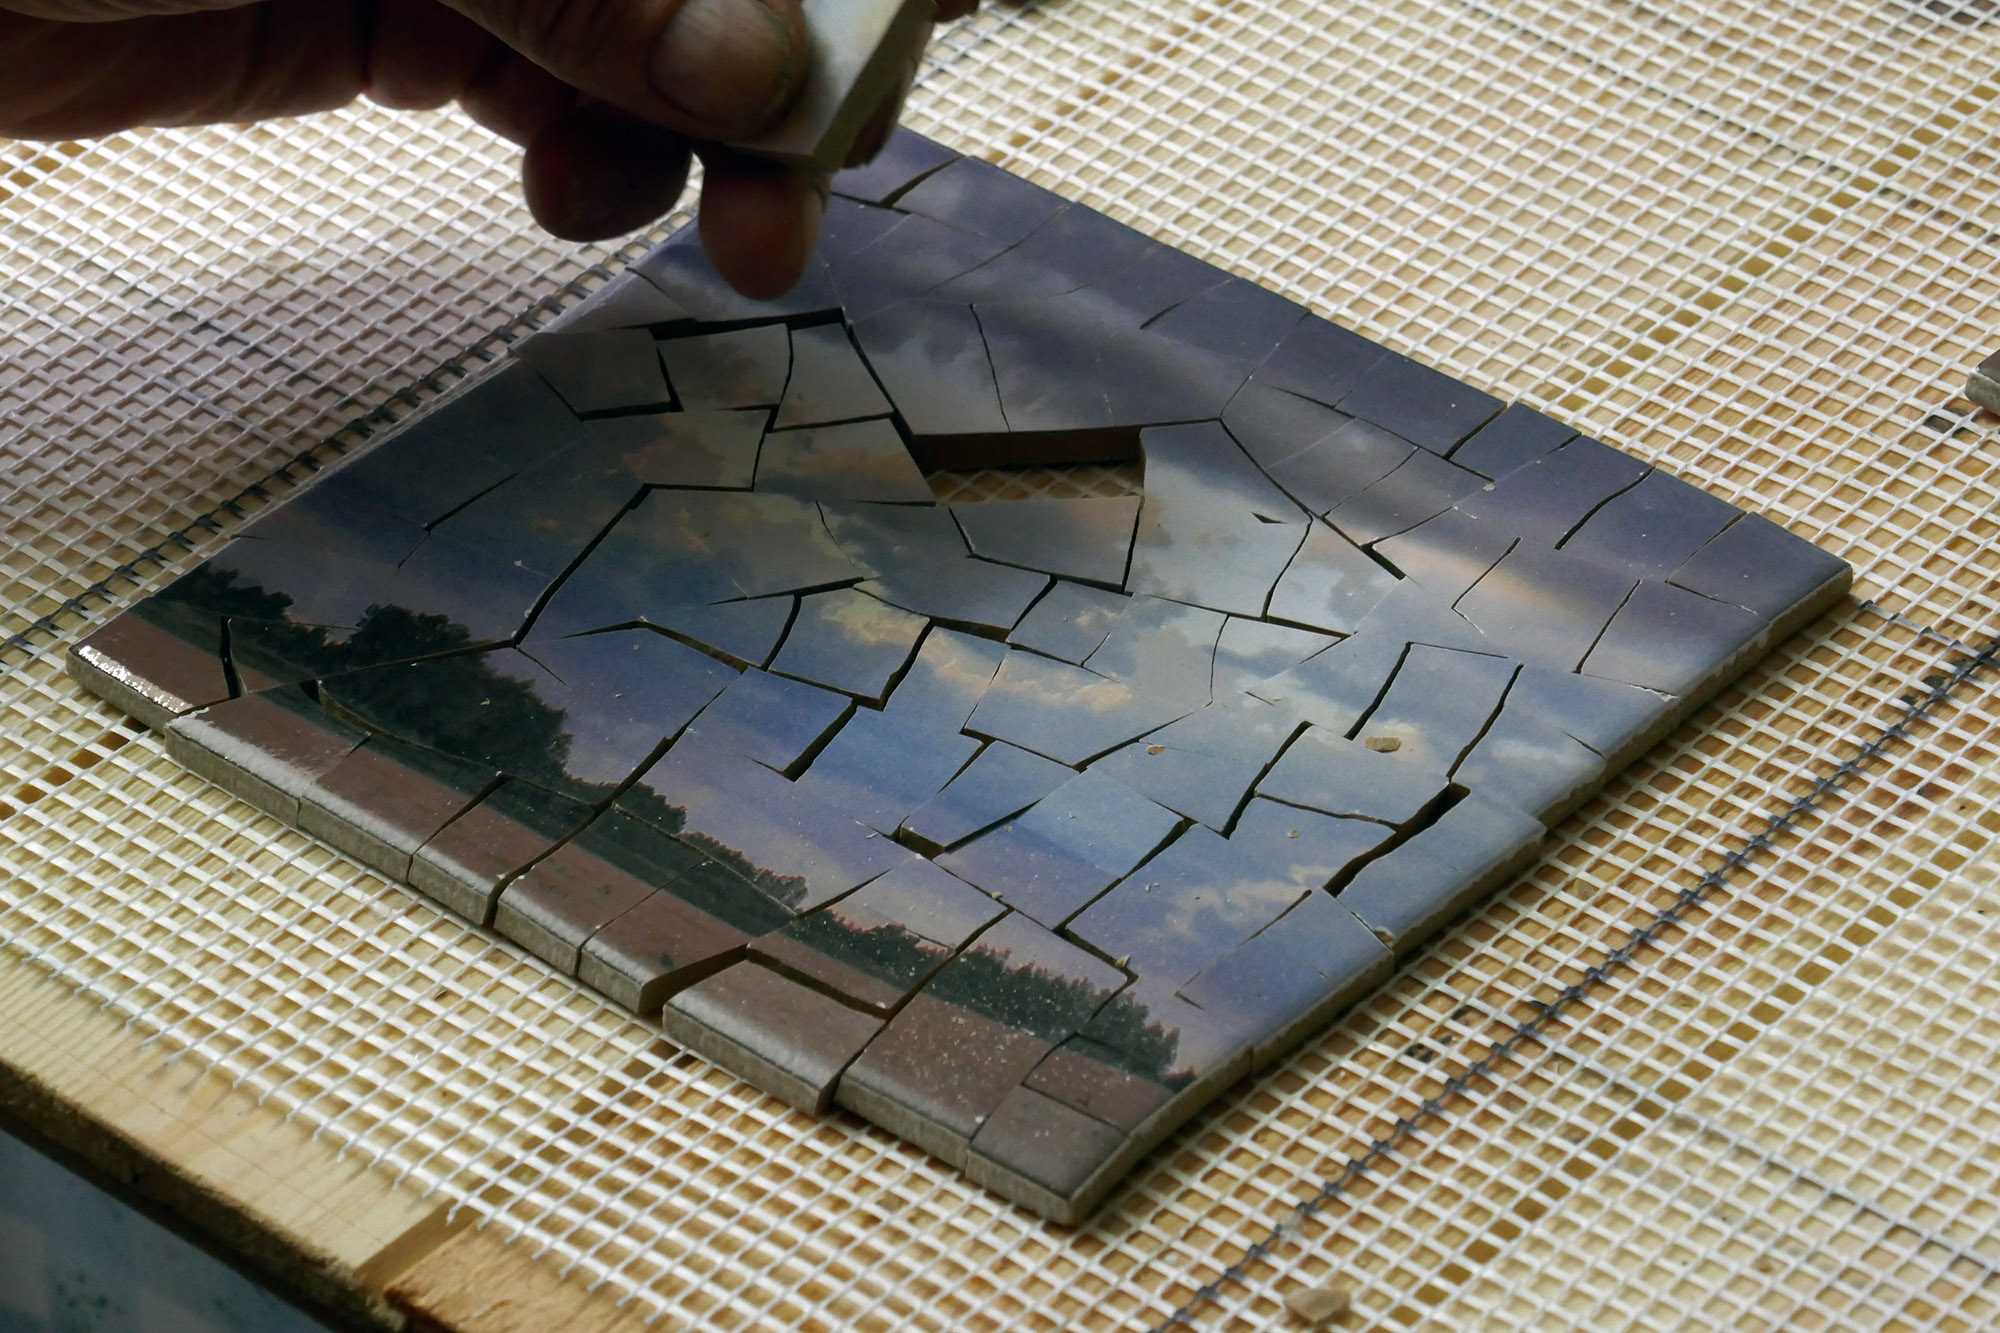

"I keep the tiles parts tight so none can escape. I then space them out to create a gap between the tiles, being aware that different sized pieces will have different sized gaps. This is ideal as I want to fill the gaps in with other ceramic pieces of similar colour and it makes the composition more interesting.
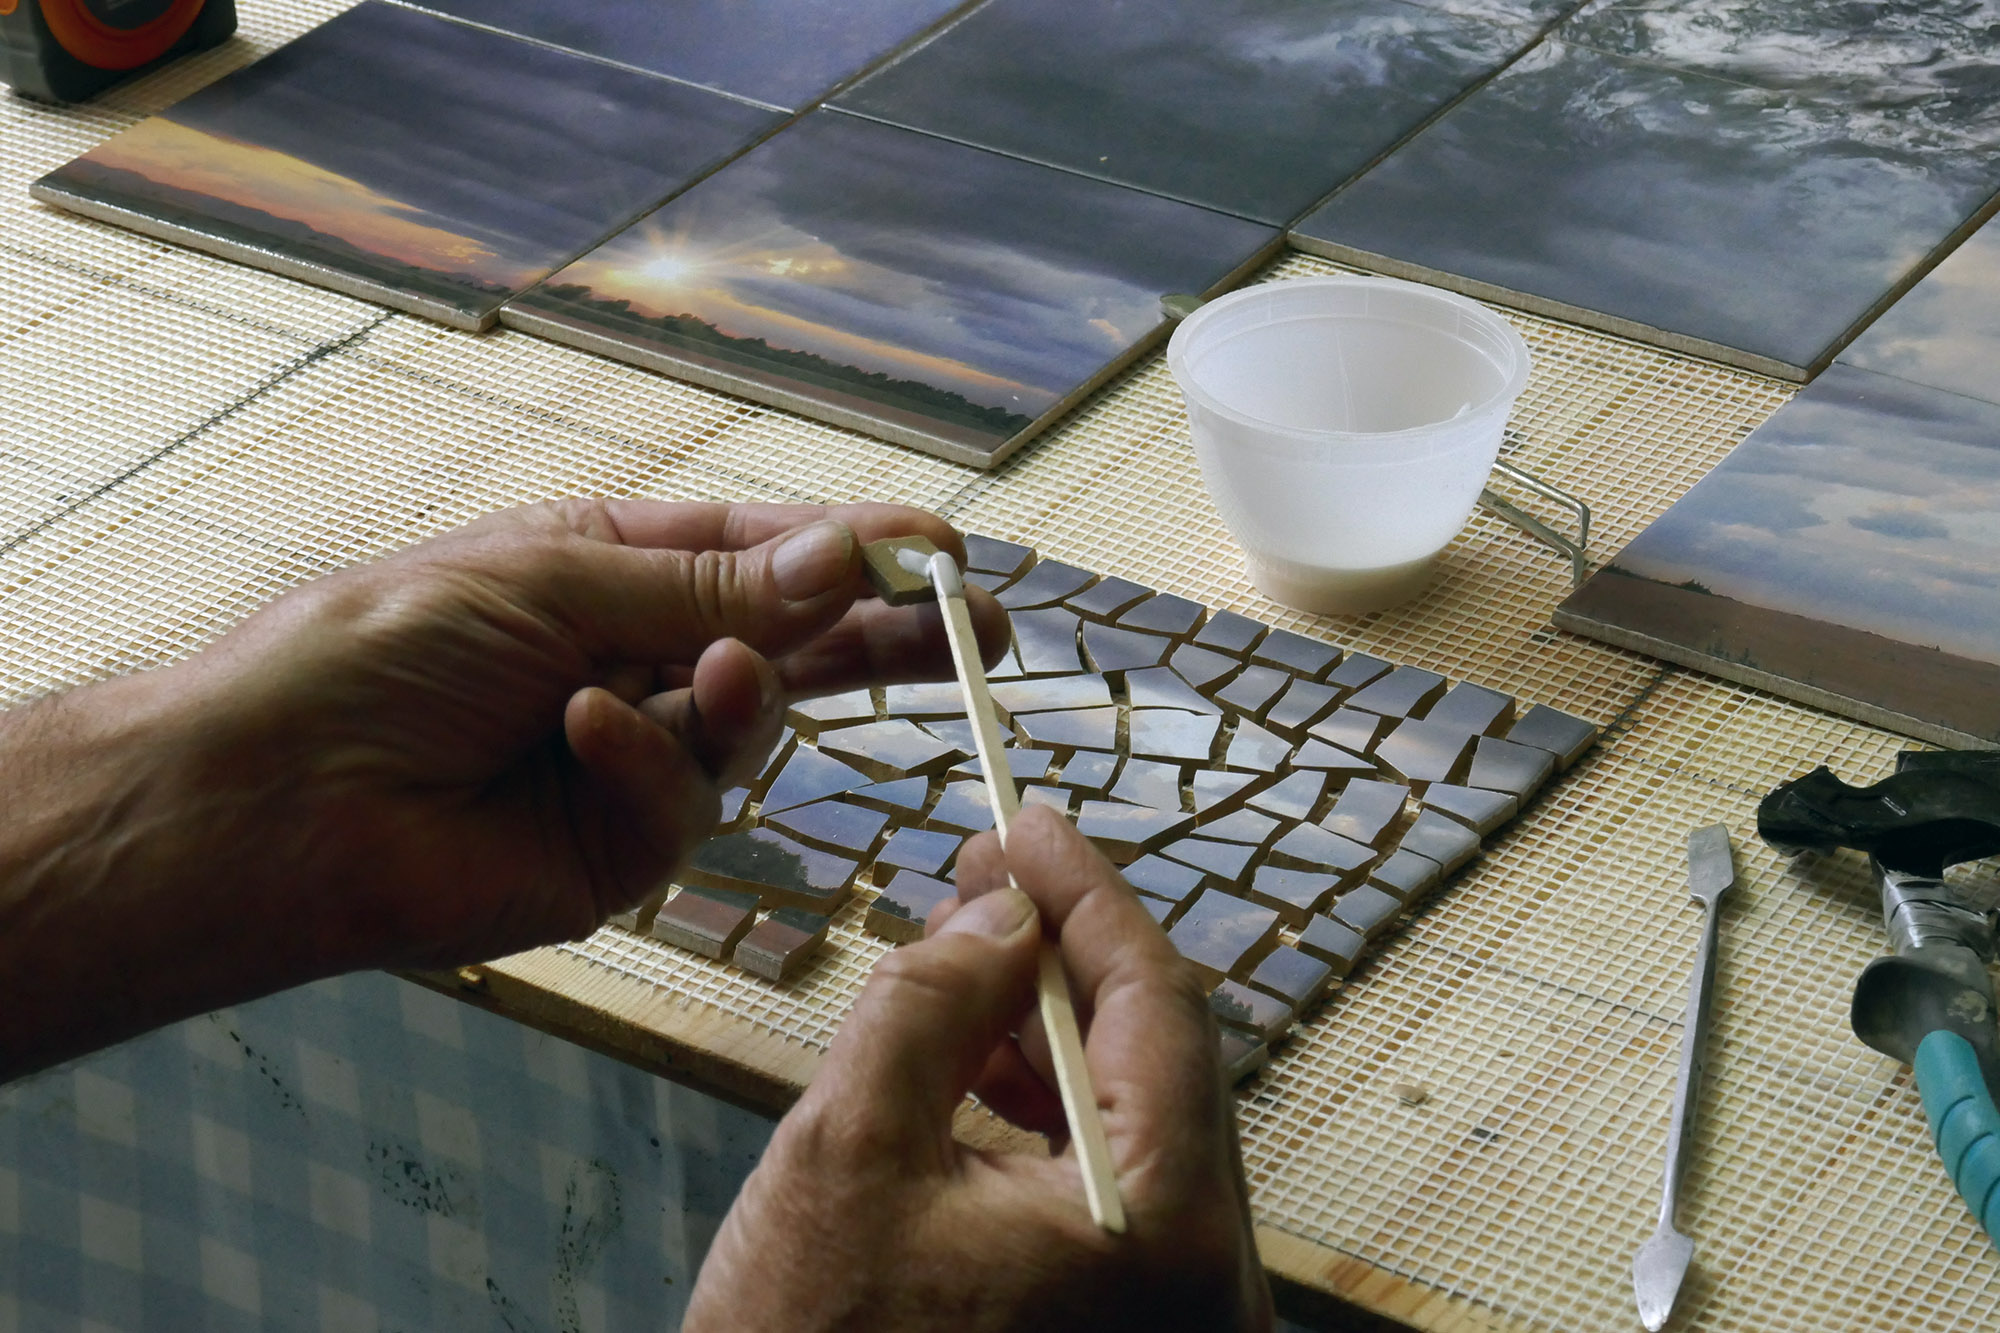
Using PVA, I then start to glue the pieces onto the fibreglass mosaic mesh, being sure to place some plastic sheet underneath the mesh for easy removal when finished". Note the various sized gaps between the tiles which, in this piece titled "Stardust", were filled with other similar ceramic pieces.


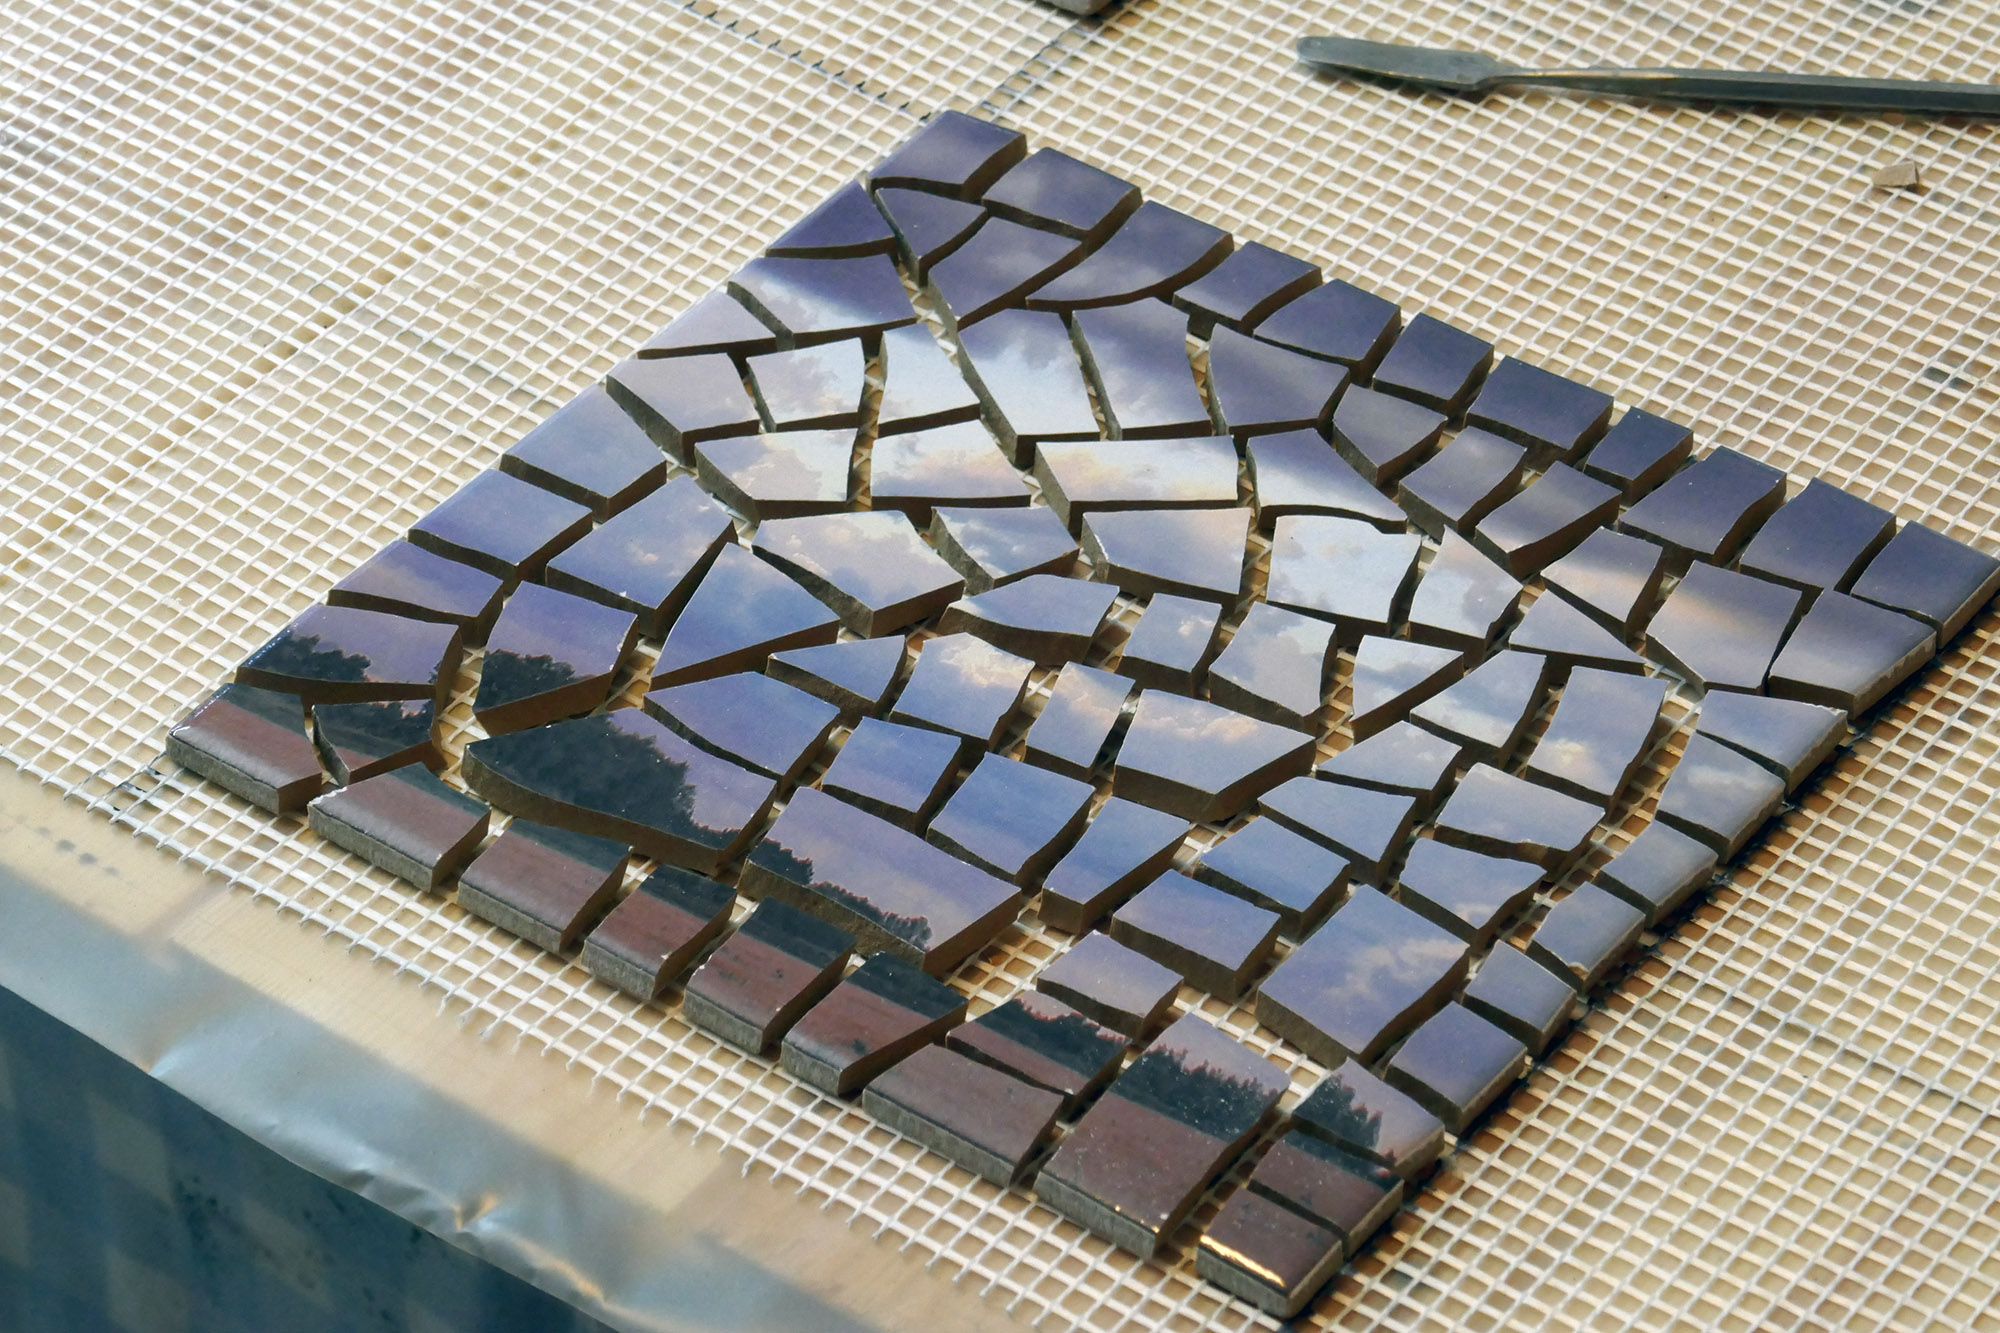
Having established a sound base, the mosaic tiles are laid onto the cement bed.
Having glued the tiles to the mesh backing, Dennis then creates the cement base that will form the foundation for the pathways in his garden. "I use 1 part cement, 1.5 parts sharp sand, 2.5 parts 20mm shingle for a 2" thick base. I then place down a galvanised mesh over the length of the trough and mix ( 1 cement, 1.5 parts sharp sand, 2.5 part 10mm shingle) and place it on top of the mesh making enough to provide another 1" to sit on top of the mesh. Finally I make up the (1 part cement, 3 parts sharp sand) that will take the tiles. I made sure the cement sand mix was level up to the wooden guides I staked into the ground.
"I grouted the gaps between the tiles with the same mix of cement and sand I mixed for the final top layer of the slab and waited for an hour to let the cement get absorbed by the tiles and in this way the cement shrinks a small amount.
After the wait I then brush off any excess cement and wait another hour for it to harden a tad superficially. I then gently sponge any excess that lays on top of the tiles being careful not to dislodge any pieces as it is still delicate at this stage. This whole process takes around 6 hours from start to finish, I then let it dry overnight and will spray the slab with water for at least a week to keep it damp (this helps to achieve maximum strength after a few months of drying out and being rained on).
Following a final clean, the completed mosaic is ready to take pride of place alongside the others in Dennis's garden.
For more information on the services we offer or if you are interested in a bespoke tiled mural for any domestic, commercial or public space project, please contact us.


